

-
Products
-
2D Cutting

-
Tube Cutting
-
3D Cutting
-
BLT Intelligent Cutting
-
Industrial Automation
-
Industrial Software
-
-
Portfolio
-
-
2D Cutting Head
Tube Cutting Head
Plane Bevel Cutting Head
Structural Steel Cutting Head
-
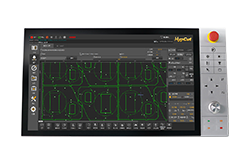
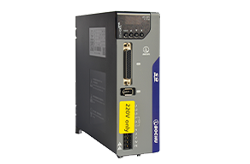
BOCHU High-Speed Servo Drive
-
Popular products
-
- Online Store
- Service & Support
- About BOCHU
- Investors Relations


- Software Download
- Manual
- Tutorial
- CloudNest
Add Parts
- Importing parts is the first step in nesting.Under the [Jobs] page, click [Add] in the left column to create folders and jobs, which are used to divide drawings (parts) from various sources.
- After creating new folders and jobs, click the [Add] button under the parts list, select the drawings to be imported, and import parts (the process here is similar to that of CypNest importing drawings).
- After the parts are imported successfully, there will be a parts list containing various attributes of the parts. You can double-click to enter the part editing page to edit the parts, or you can select parts in batches, click the right mouse button, and click [Edit] to edit the parts. Edit and modify various attributes, and click “Part Copy” and “Part Move” to copy or move parts between jobs.
Add Parts
3084view
- Importing parts is the first step in nesting.Under the [Jobs] page, click [Add] in the left column to create folders and jobs, which are used to divide drawings (parts) from various sources.
- After creating new folders and jobs, click the [Add] button under the parts list, select the drawings to be imported, and import parts (the process here is similar to that of CypNest importing drawings).
- After the parts are imported successfully, there will be a parts list containing various attributes of the parts. You can double-click to enter the part editing page to edit the parts, or you can select parts in batches, click the right mouse button, and click [Edit] to edit the parts. Edit and modify various attributes, and click “Part Copy” and “Part Move” to copy or move parts between jobs.
-

Download
-

Contact us
-

Online consultation

